WhatsApp Customer Groups
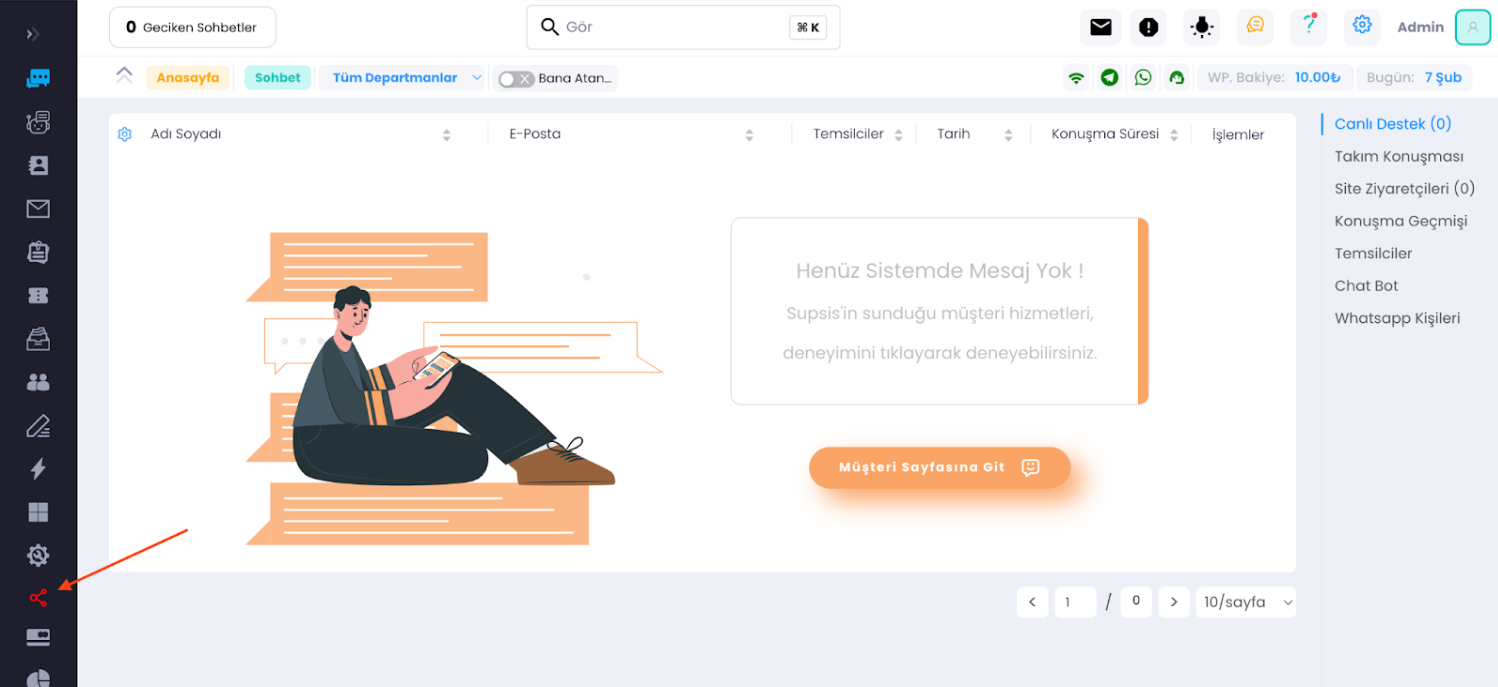
Let's follow the steps below from the panel.
-
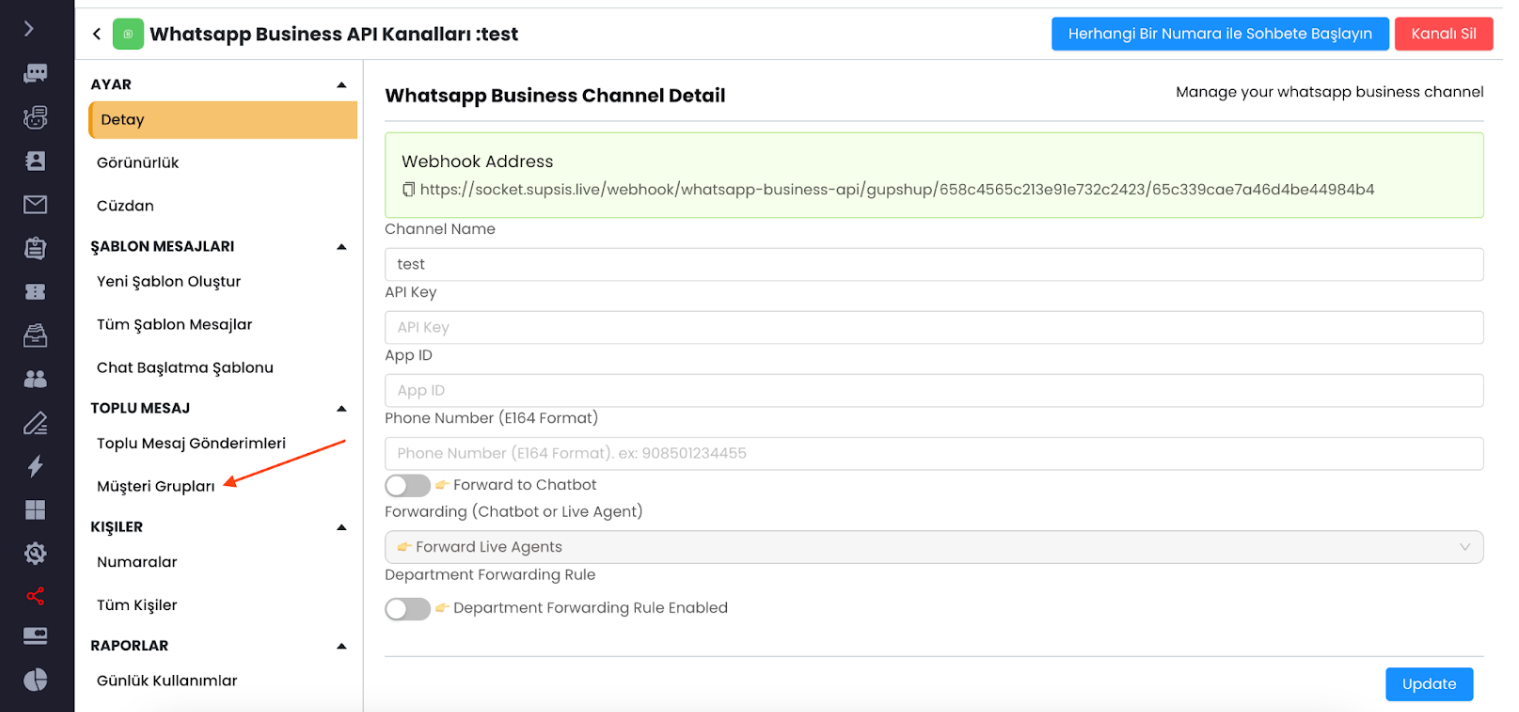
Select the channel where you want to add the customer group.
-
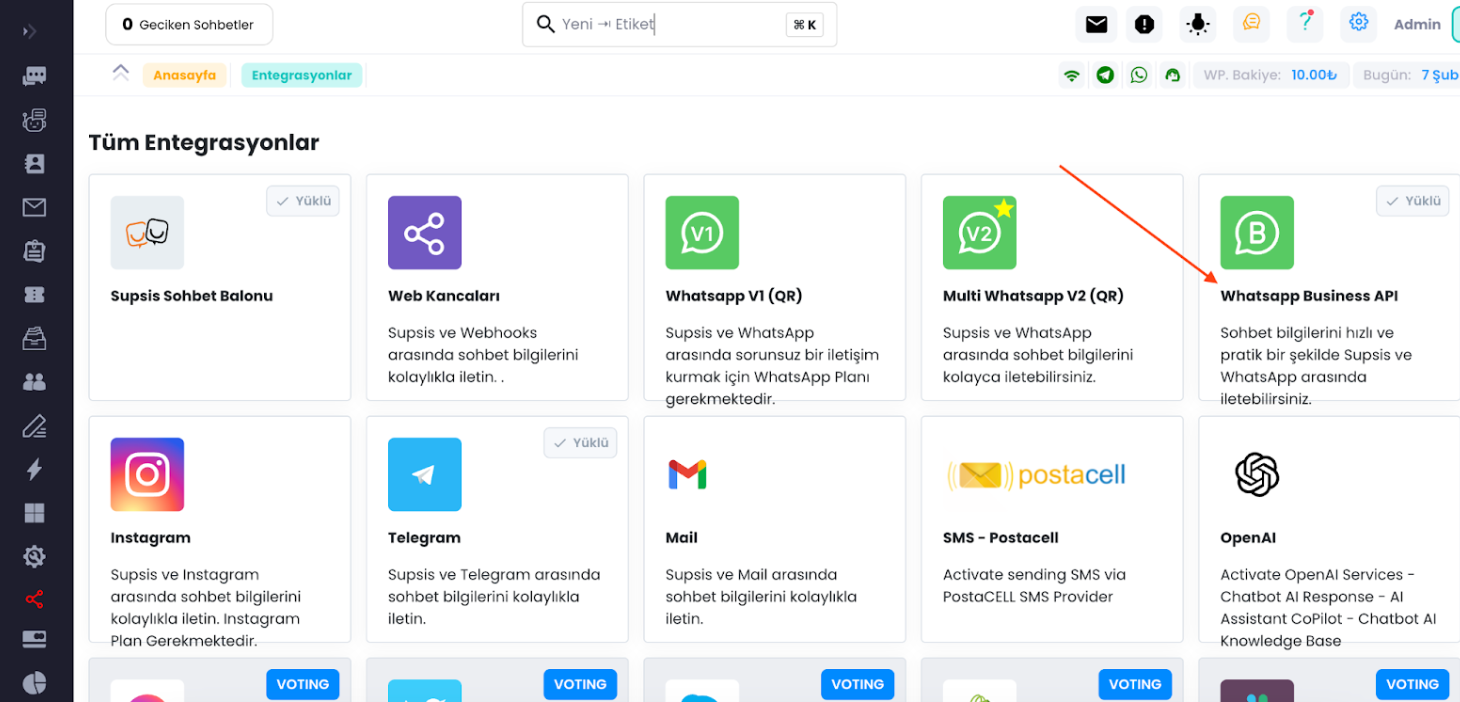
If you are using the QR version, you can proceed from there; the steps are exactly the same.
-
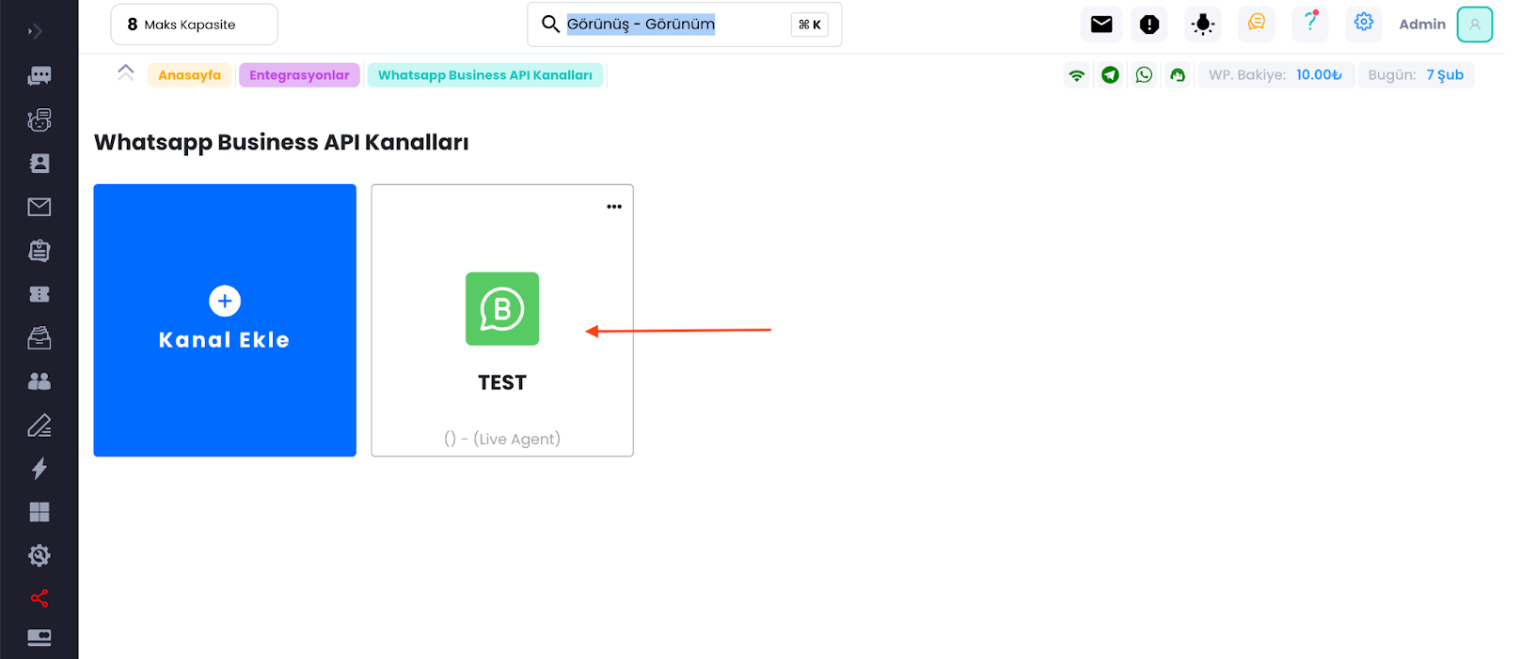
Choose the channel to which you want to add the customer group.
-
Activate this step if you want the chatbot to greet the customers who message the channel.
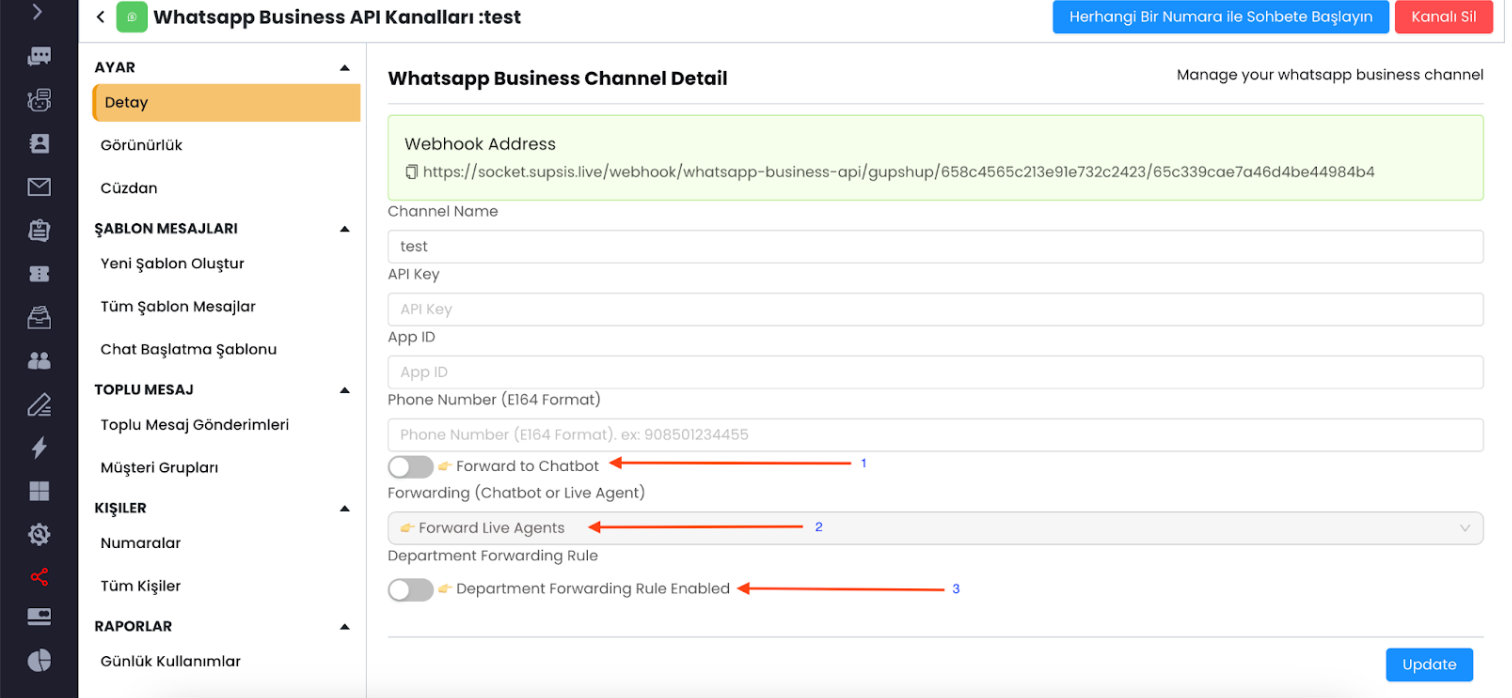
- If you want the chatbot to greet the customers, select the scenario for the chatbot to use. If not, no changes are necessary.
- Select the department that will greet the customers.
-
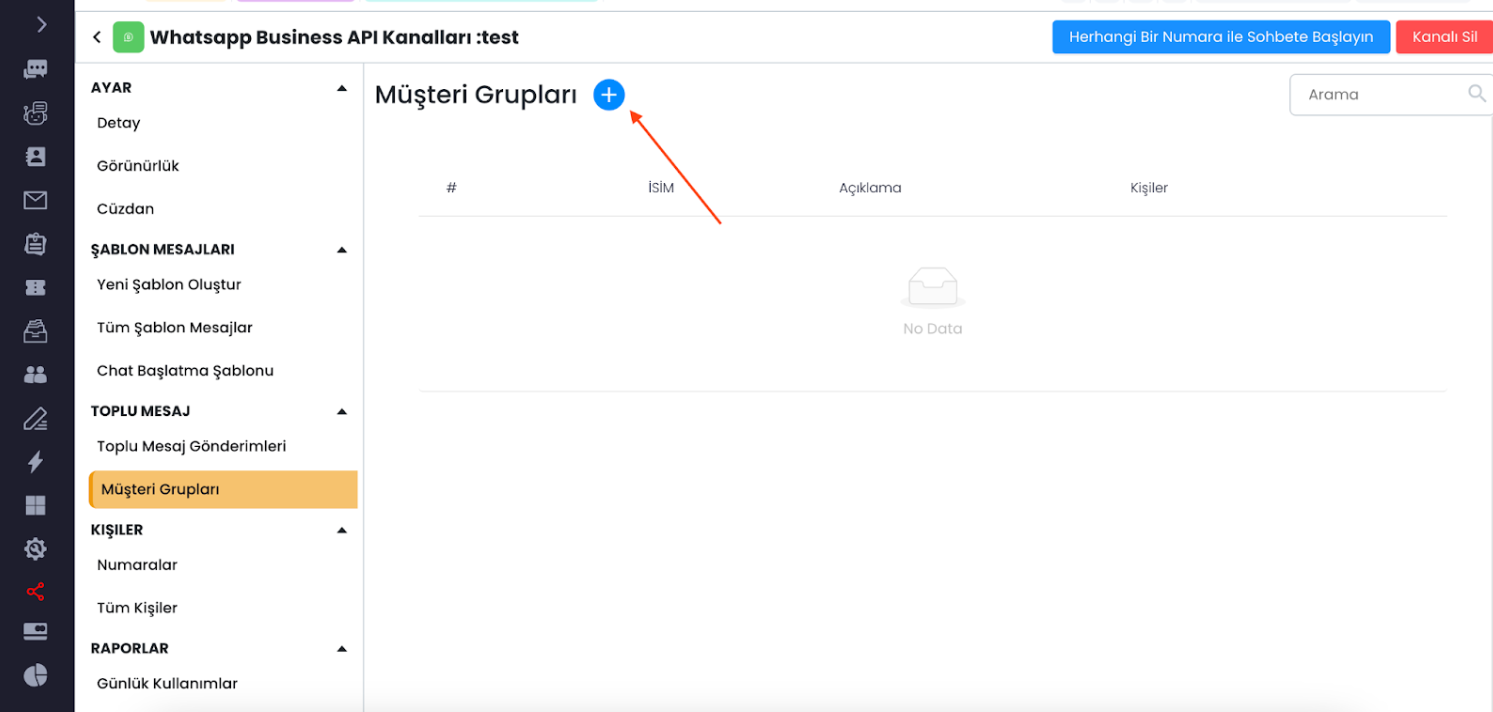
Now, let's continue from the customer groups section.
-
Click on the "+" button to add a new customer group.
-
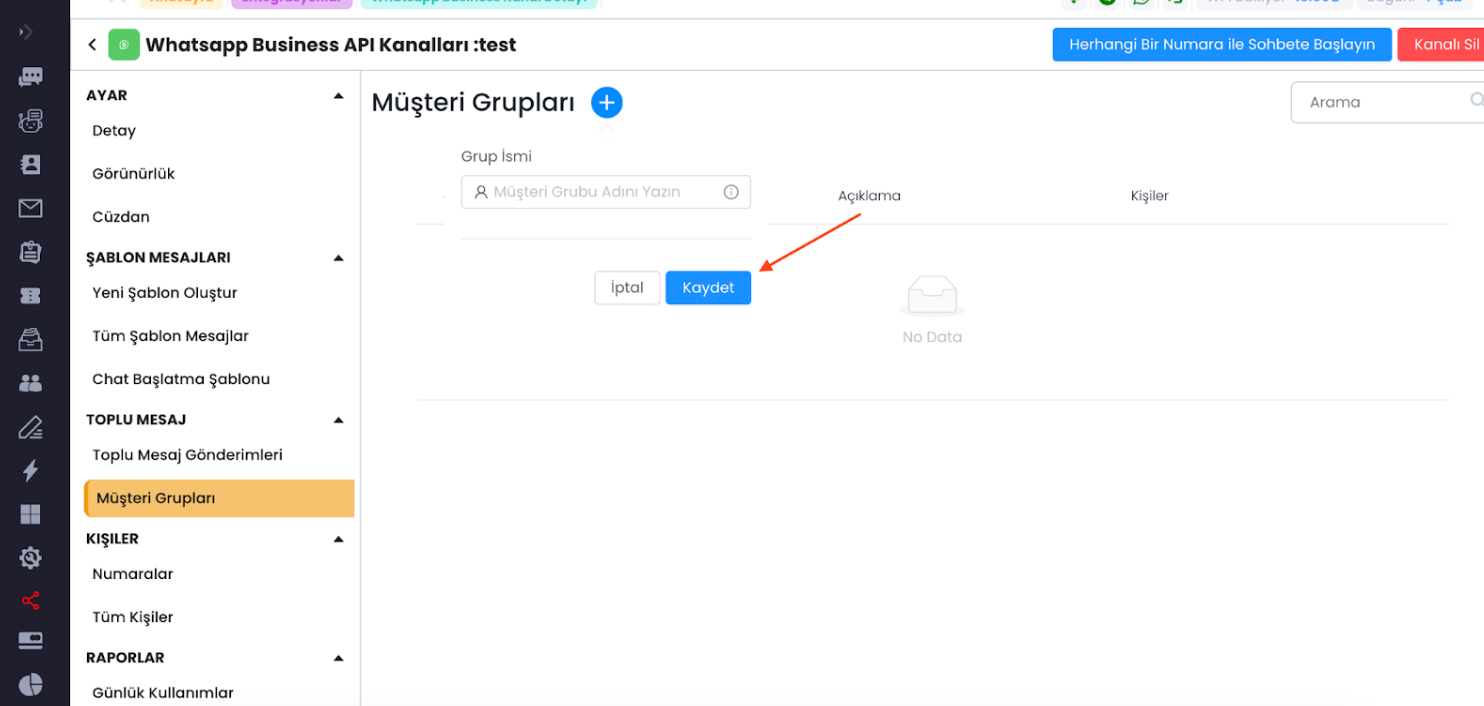
Name the customer group and click on the "Save" button.
-
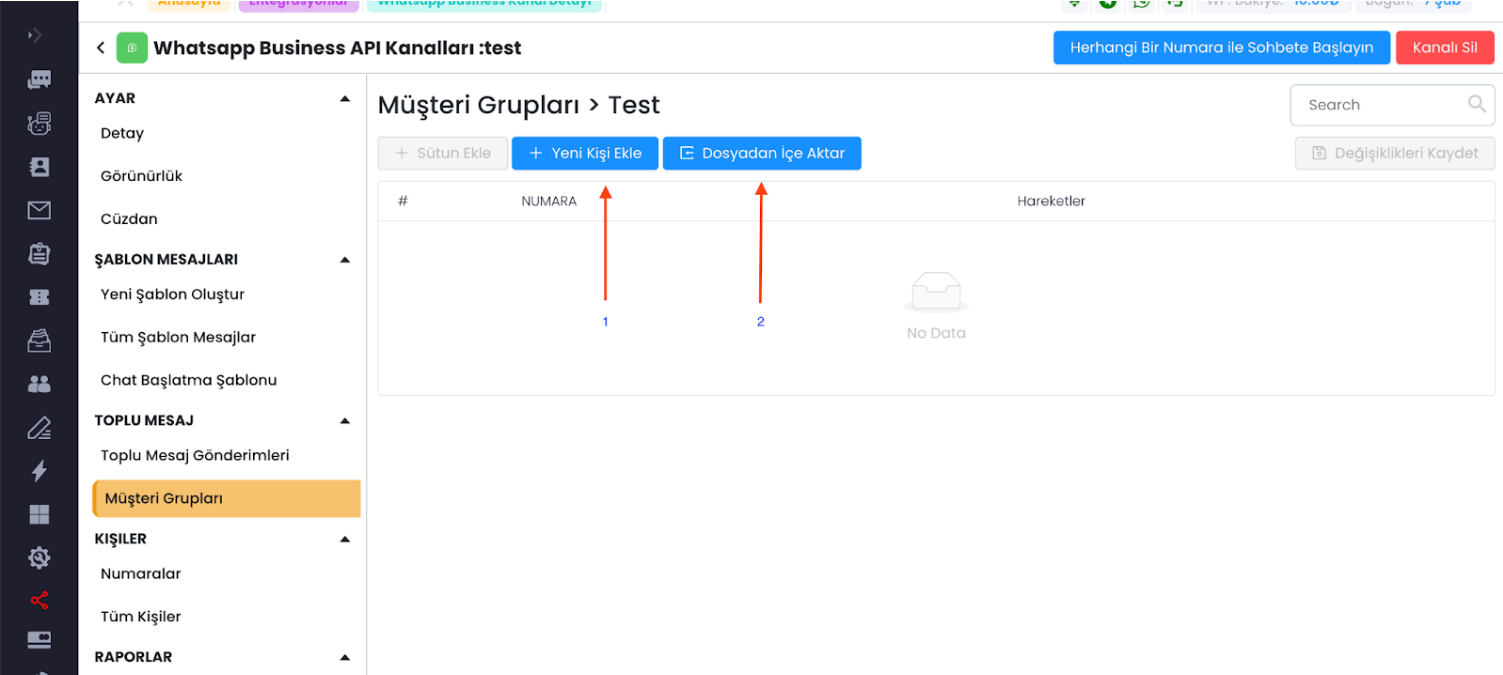
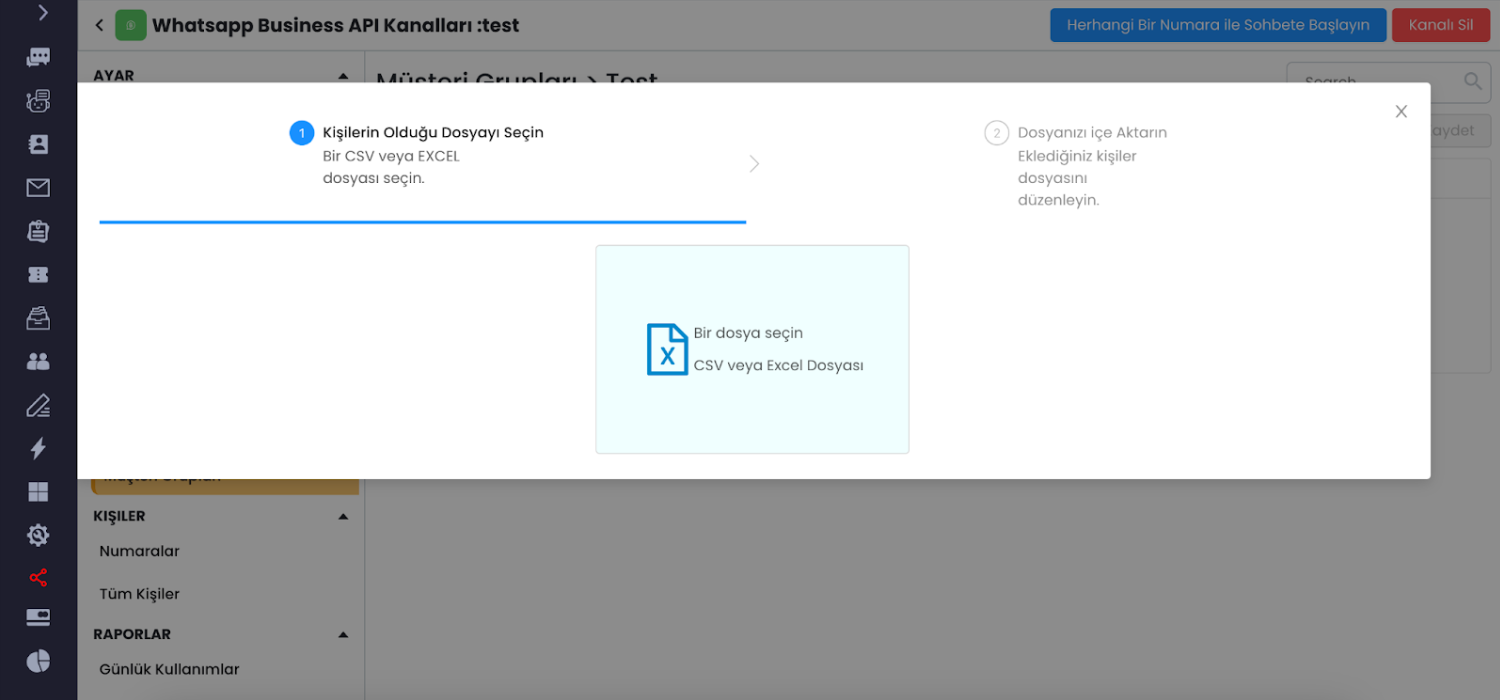
You can manually add new contacts by entering their numbers or import contacts from an Excel or CSV file.
-
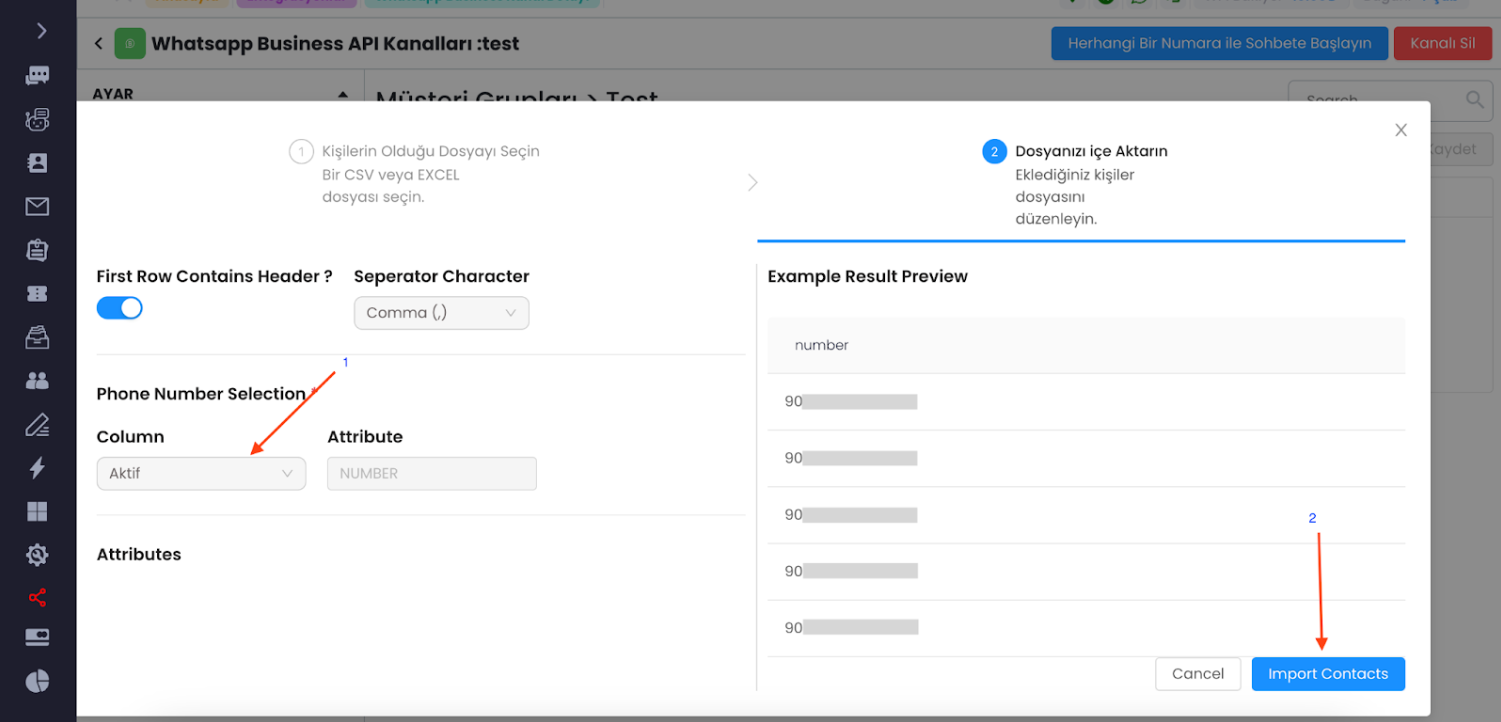
After selecting the file, choose the column containing the numbers and click on the "Import Contacts" button.
-
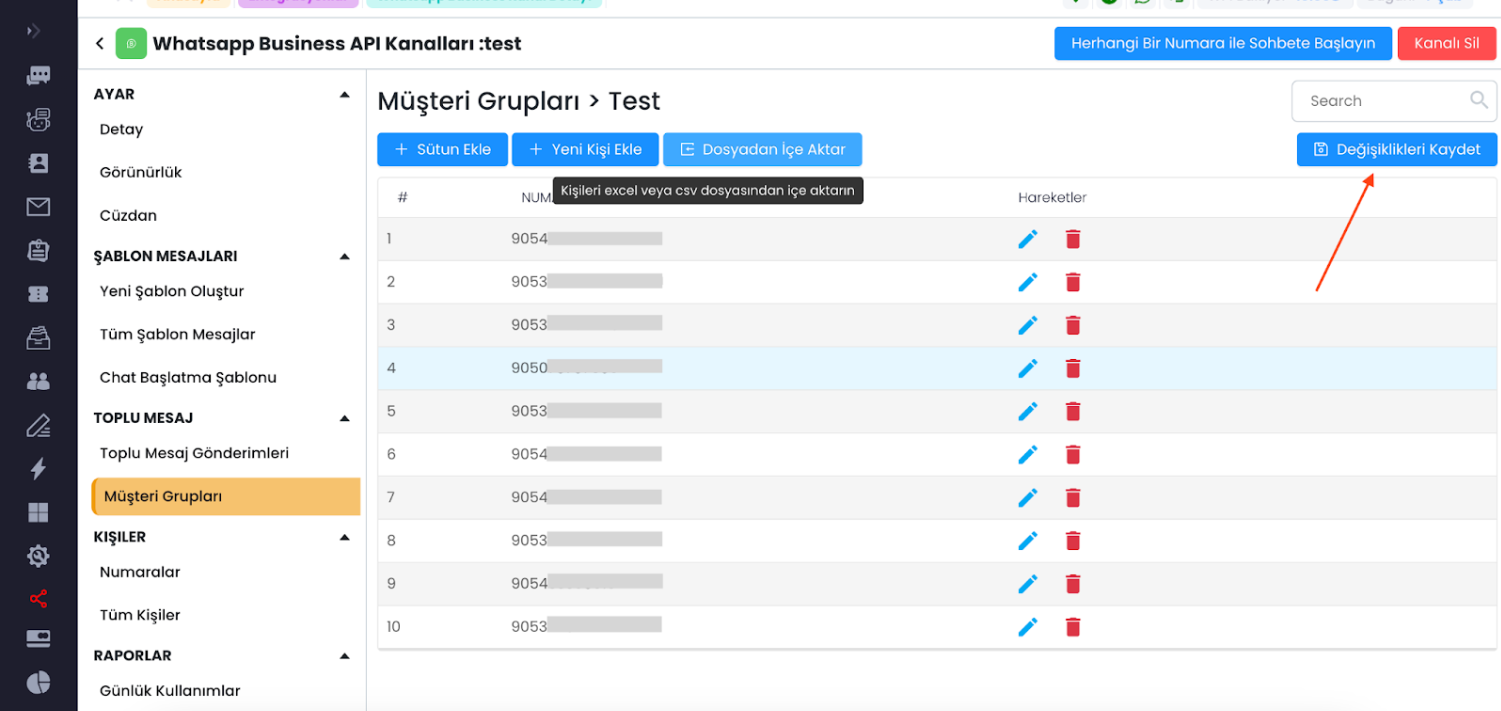
After clicking the "Import Contacts" button, you will be taken to this screen. Click on the "Save Changes" button.
-
Your customer group is now ready for message delivery.
Supsis offers a user-friendly interface. If you encounter any issues, our support team is available to assist you. We are dedicated to solving your problems because our users are important to us. You can reach our Supsis website here to request support.